TL;DR
Before disposing of a storage device, you must securely wipe all of its data. If only the command line interface is available on Linux, the process involves overwriting the device with junk or binary data, making it significantly harder to recover the original files. Unlike a standard delete operation, which merely removes file pointers, this method overwrites the actual data.
The steps include locating the device, unmounting it if necessary, wiping it, creating a new partition and partition table, and finally formatting the partition with a file system.
Securely Wipe a Storage Device Using Only the Linux Terminal
Step 1: Locate the Storage Device
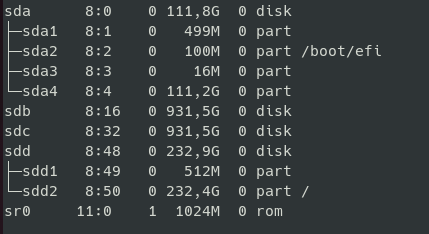
Before formatting, determine the device name using:
lsblk
For a more detailed output, use:
sudo fdisk -l
Look for your storage device (e.g., /dev/sdX, where X is the device letter). M.2 devices are commonly named /dev/nvmeXnY.
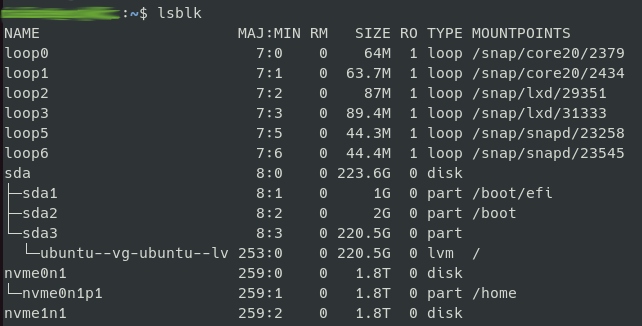 Standard output when using lsblk command
Step 2: Unmount the Device
If the device is mounted, unmount it first:
sudo umount /dev/sdX
If it has multiple partitions, unmount all of them (e.g., /dev/sdX1, /dev/sdX2, etc.):
sudo umount /dev/sdX1
sudo umount /dev/sdX2
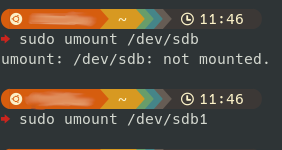 Standard output and error messages when a device is mounted or not
Step 3: Wipe the Storage Device
To completely erase the device, use one of the following methods:
Option 1: Overwrite with Zeroes (Slow but Secure)
sudo dd if=/dev/zero of=/dev/sdX bs=1M status=progress
This command performs the following operations:
if=/dev/zero→ Reads from/dev/zero(a stream of zeroes).of=/dev/sdX→ Writes to the specified device.bs=1M→ Sets block size to 1MB for faster writing.status=progress→ Displays progress updates.
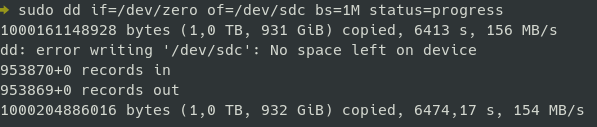 Status progress of the
 dd command
DISCLAIMER: This process may take several hours. The actual duration depends on the storage device and system performance.
Option 2: Use shred for Multiple Overwrites (More Secure)
sudo shred -v -n 4 -z -u /dev/sdX
-v→ Verbose mode (shows progress).-n 4→ Overwrites the device 4 times (default is 3).-z(optional) → Overwrites with zeroes after shredding.-u(optional) → Removes files when done.
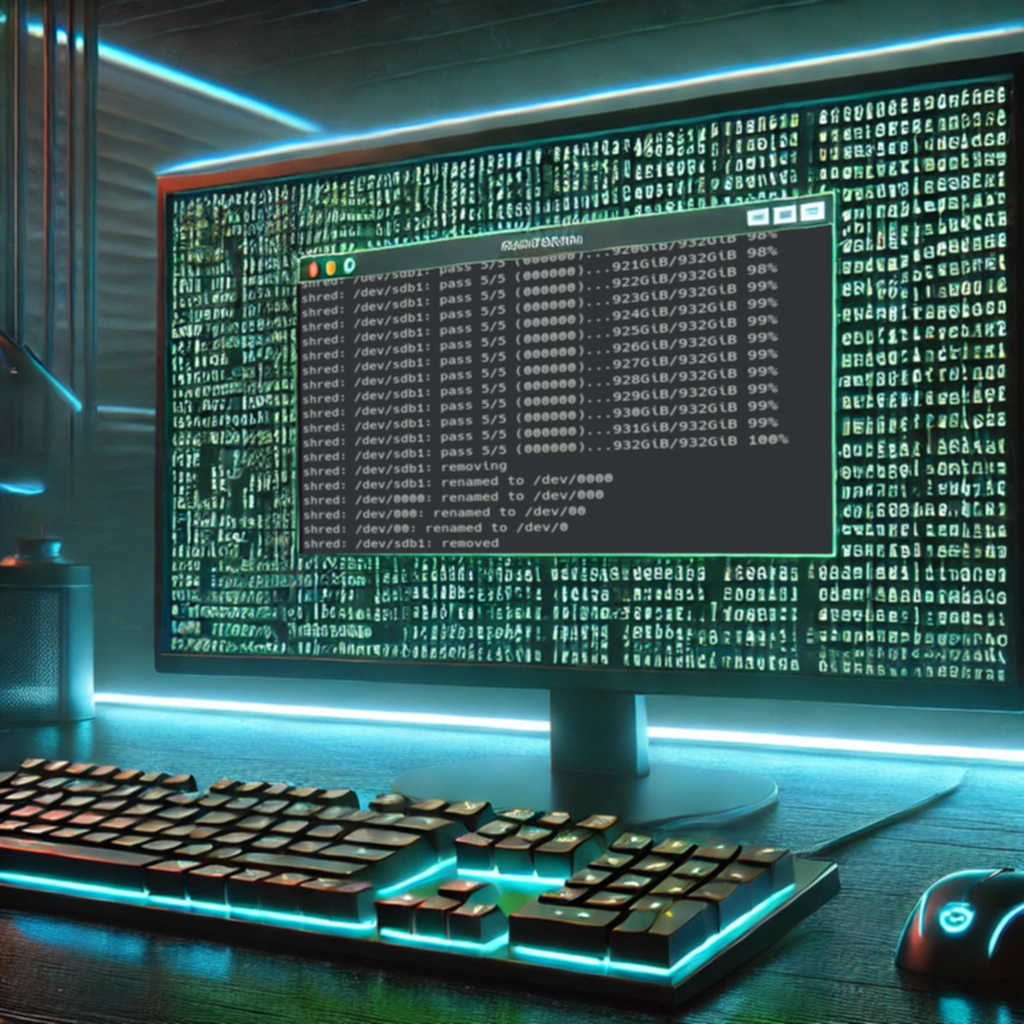
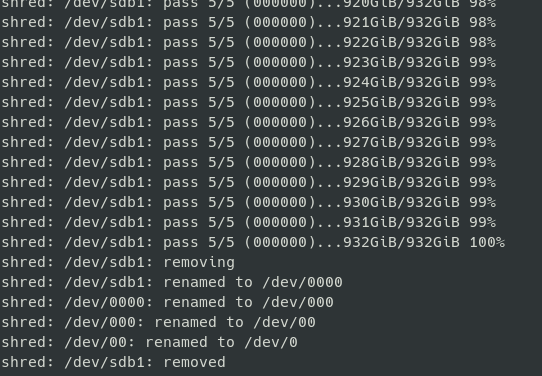 Final
Final shred output
DISCLAIMER: This process may take several hours. The actual duration depends on the storage device and system performance.
Once done, list the block devices again. Storage devices should be listed without any partitions. If partitions are still visible, reboot the system.
 Wiped storage devices sdd and sdc
Step 4: Create a New Partition Table
To create a new partition table (GPT or MBR), note that the Master Boot Record (MBR) is the traditional choice but has limitations. Many server administrators prefer the GUID Partition Table (GPT) because it supports more partitions, which is crucial for high-capacity storage devices.
For GPT (Recommended for modern systems):
sudo parted /dev/sdX mklabel gpt
For MBR (For older systems):
sudo parted /dev/sdX mklabel msdos
Step 5: Create a New Partition
Using fdisk:
sudo fdisk /dev/sdX
Inside fdisk:
- Press
n(to create a new partition). - Choose a partition number (default: 1).
- Select the starting and ending sectors (default values are usually fine).
- Press
wto write the changes.
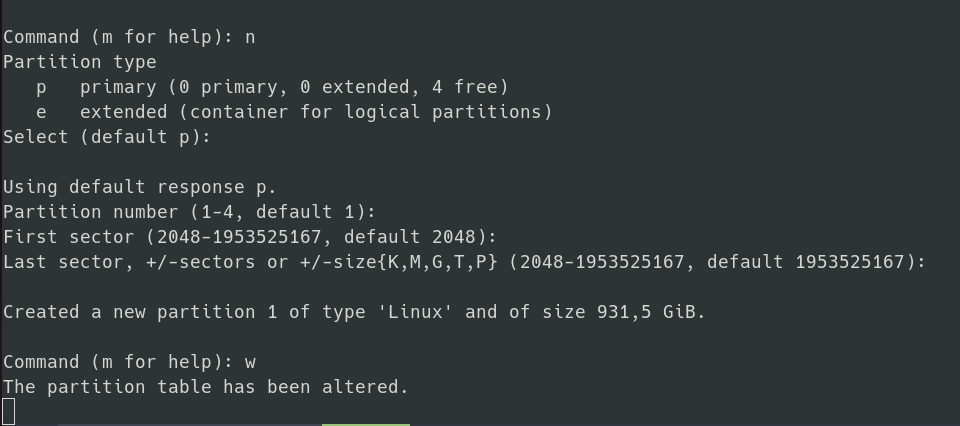 Partitioning a device using
 fdisk
Alternatively, using parted:
sudo parted -a optimal /dev/sdX mkpart primary ext4 0% 100%
Replace ext4 with another filesystem type if needed.
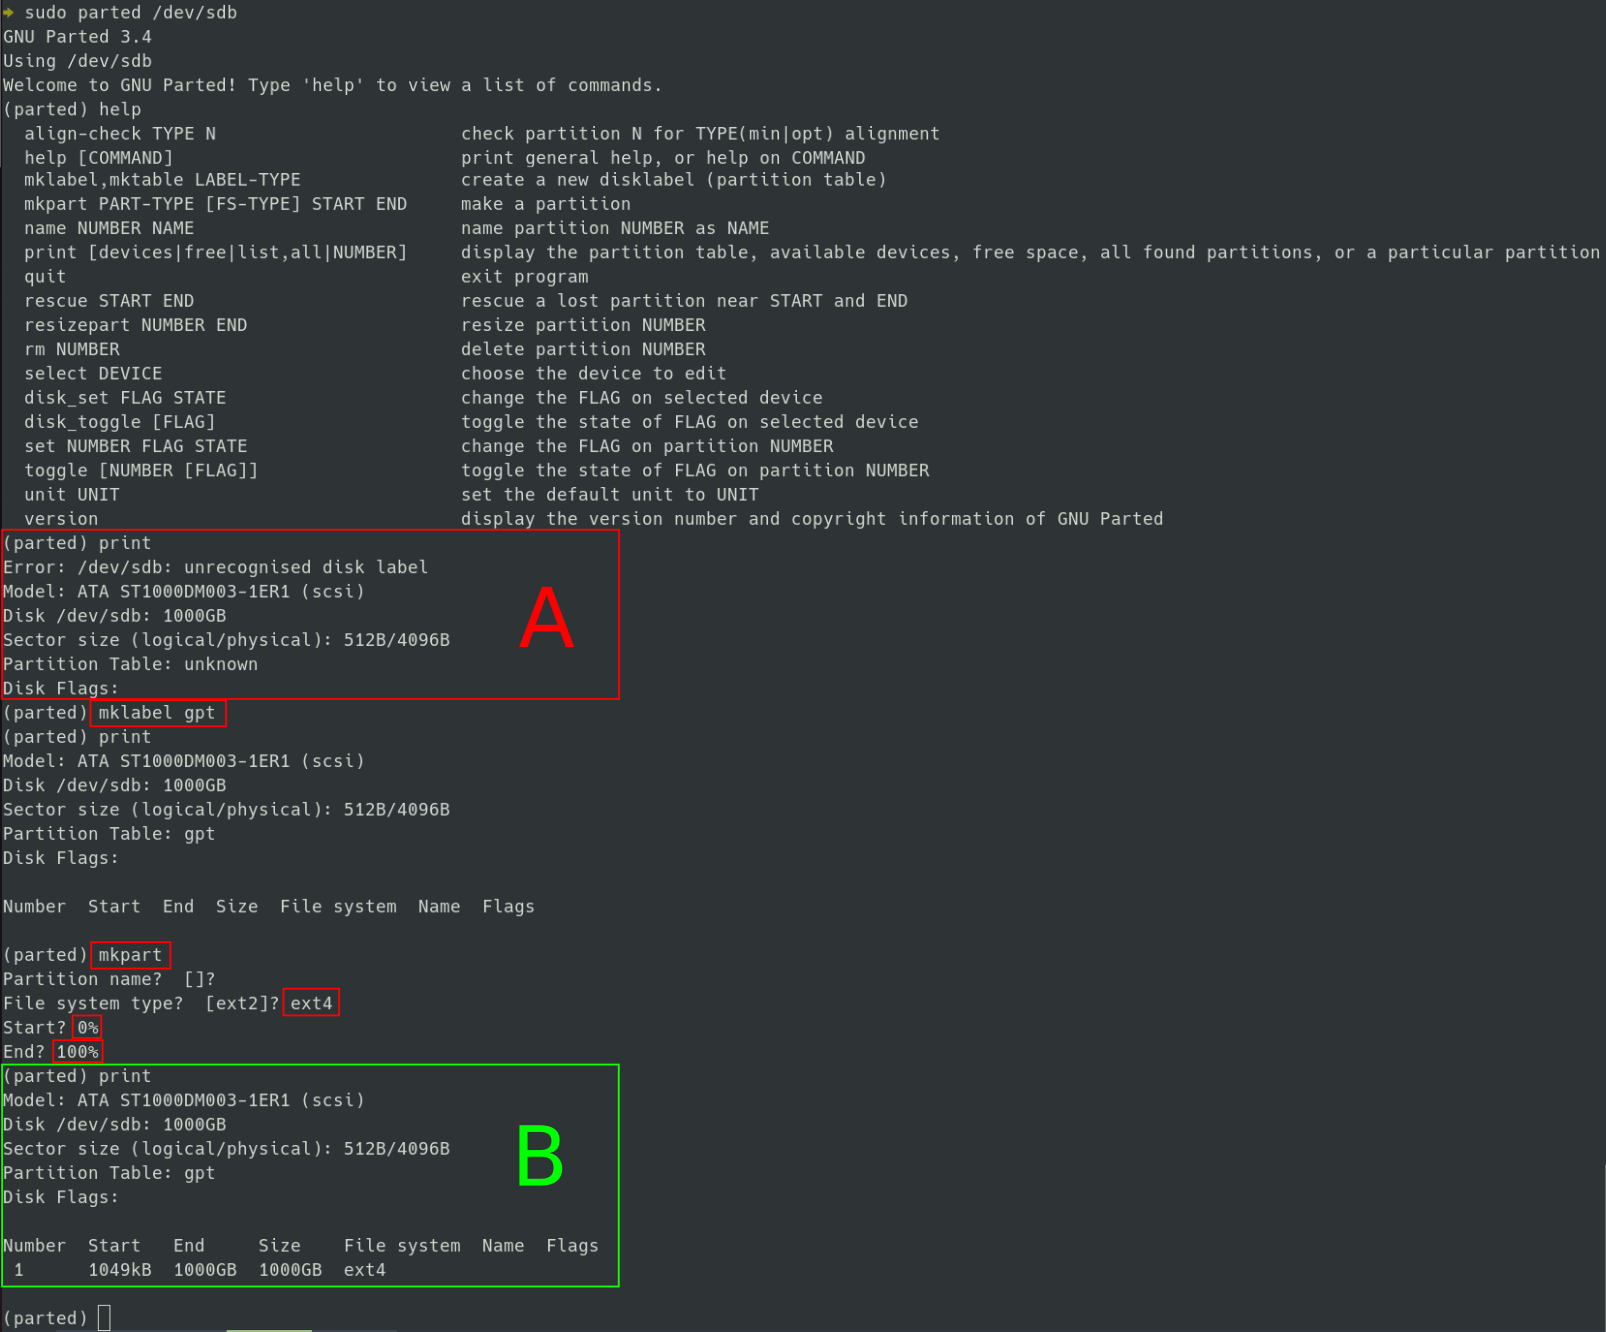 A: Initial state. B: After partitioning.
Step 6: Format the Partition with a Filesystem
Once the partition is created (e.g., /dev/sdX1), format it with the desired filesystem:
- EXT4 (Common for Linux):
sudo mkfs.ext4 /dev/sdX1 - NTFS (For Windows compatibility):
sudo mkfs.ntfs /dev/sdX1 - FAT32 (Cross-platform compatibility, max file size: 4GB):
sudo mkfs.vfat -F32 /dev/sdX1 - exFAT (For large files, cross-platform support):
sudo mkfs.exfat /dev/sdX1 - XFS (High performance for large files):
sudo mkfs.xfs /dev/sdX1
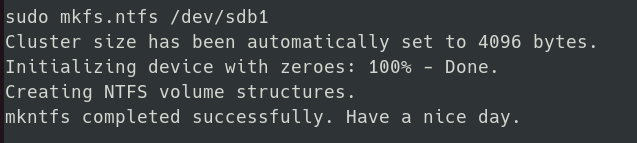 Formatting a partition with NTFS.
Step 7: Mount the New Partition
Finally, mount the device and verify that it is working.
Create a mount point and mount the partition:
sudo mkdir -p /mnt/mydisk
sudo mount /dev/sdX1 /mnt/mydisk
Verify the mount status with:
df -h